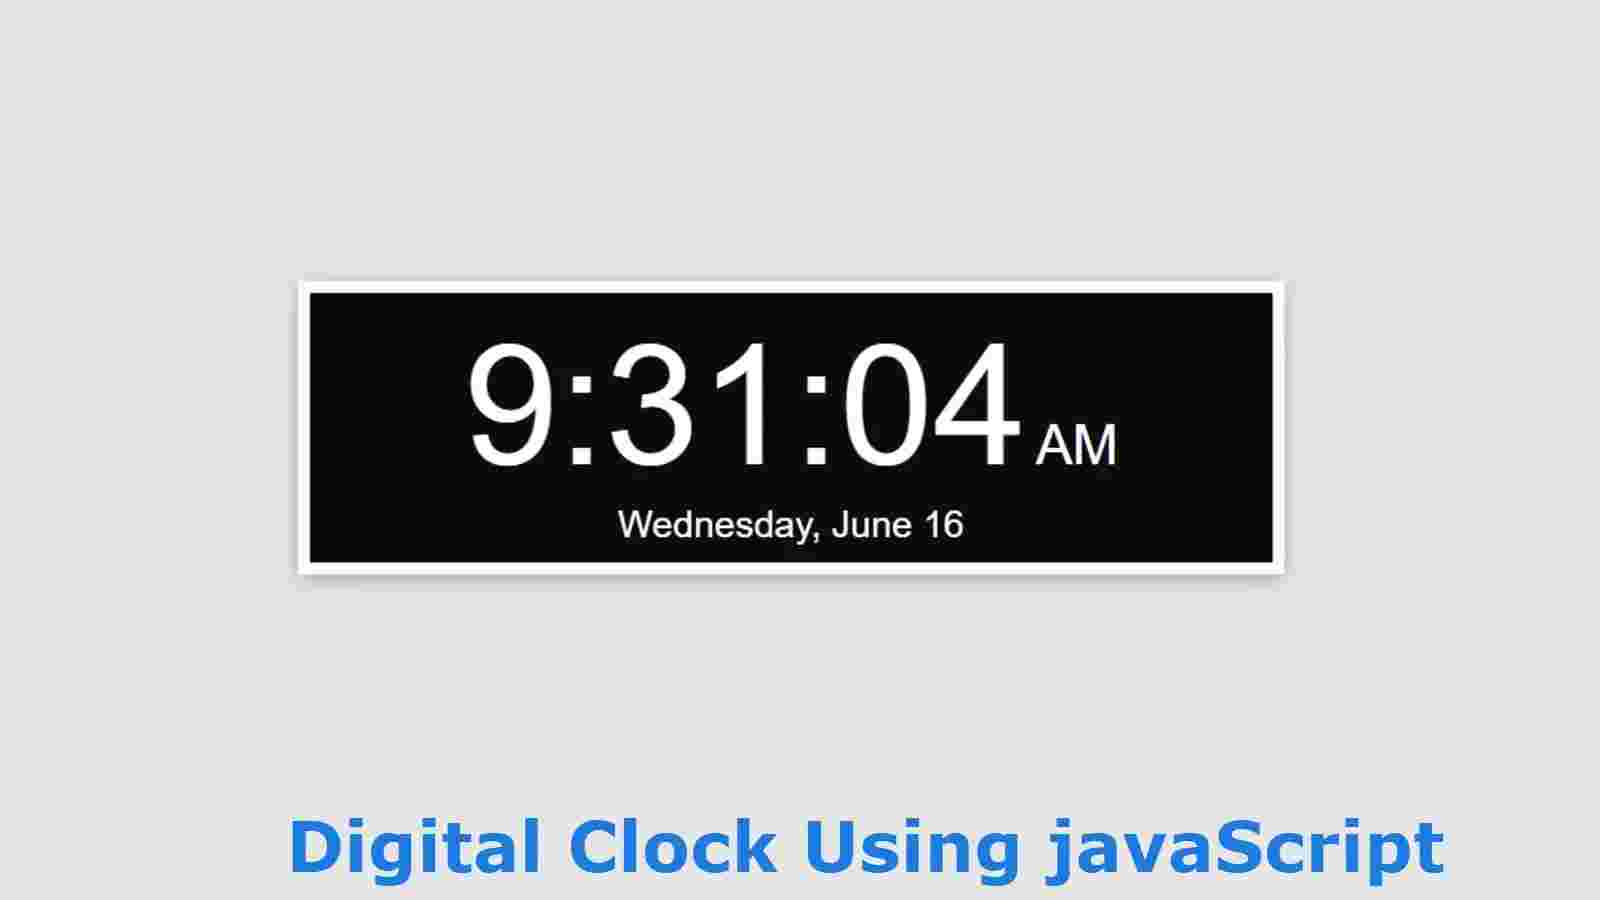

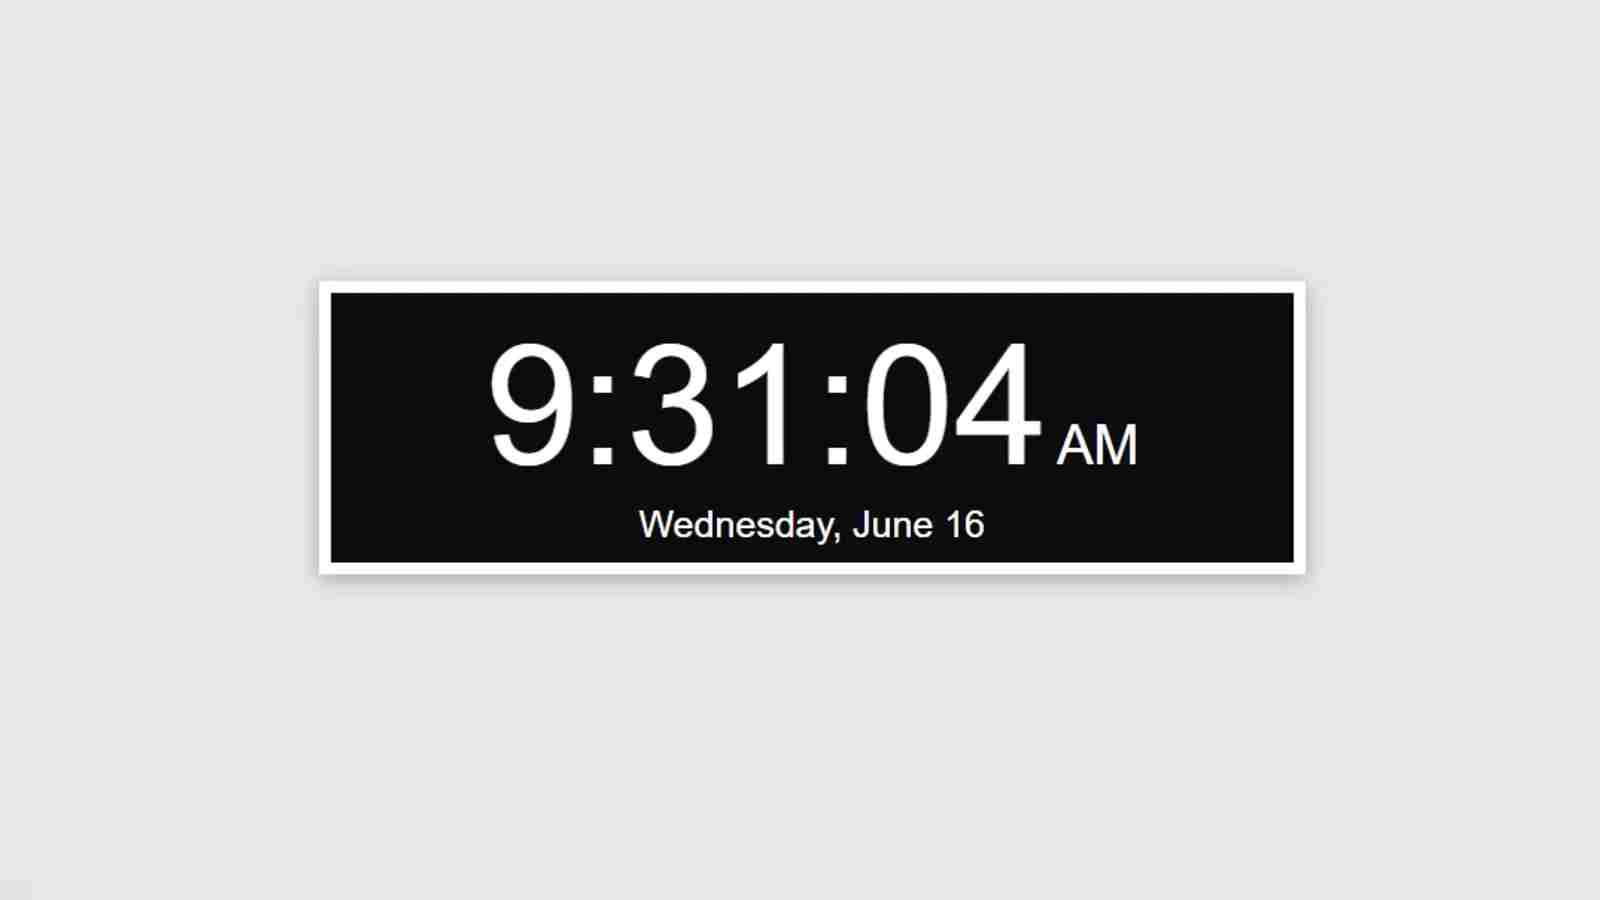
In this article, you are going to learn how to make a digital clock using HTML, CSS, and JavaScript programming code. Earlier I shared with you many more types of analog and digital clock-making methods. In this article, I have shown you how to make a completely simple digital watch design.
There are basically two types of clock, an analog and a digital. Digital clocks are much easier to make than analog clocks. In this watch, I have added a date with time, not just time. That means together you will see time, date, month, date everything.
This design is based on JavaScript programming code. If you know the basic JavaScript programming code then you will definitely know how to make this design.
Simple Digital clock using Javascript [Live Demo]
If you want to know how it works then you can watch the live demo below. From below you can copy the required source code i.e. HTML, CSS, and JavaScript, and use it in your own work.
See the Pen
digital clock 2 by shantanu jana (@fghty)
on CodePen.
If you want to know how to make this digital with the help of video then you can follow the video tutorial below. This is a youtube video where I showed you step by step how I made this digital watch. We hope this tutorial helps you.
How to Create a digital clock using JavaScript
First of all, you create an HTML and CSS file. You can add CSS code to the Html file using style tags. In this case, I have used a very small amount of HTML and CSS code, so even if you do not create a separate file for the CSS code.
Step 1: Create the basic structure of the clock
The HTML programming code below is basically the basic HTML structure. You copy the following structure and paste it into your HTML file. The CSS codes below are mainly used to design the background of this digital watch. The CSS code below has helped to create and design the box you saw in the demo.
<div class=”time”>
</div>
body {
font-family: “Work Sans”, sans-serif;
margin-left: 50px;
margin-top: 150px;
background: rgb(230, 230, 230);
}
.time {
background: rgb(12, 12, 12);
color: #fff;
border: 7px solid rgb(255, 252, 252);
box-shadow: 0 2px 10px 0 rgba(0,0,0,0.16), 0 2px 10px 0 rgba(0,0,0,0.12);
padding: 8px;
text-align: center;
width: 500px;
}

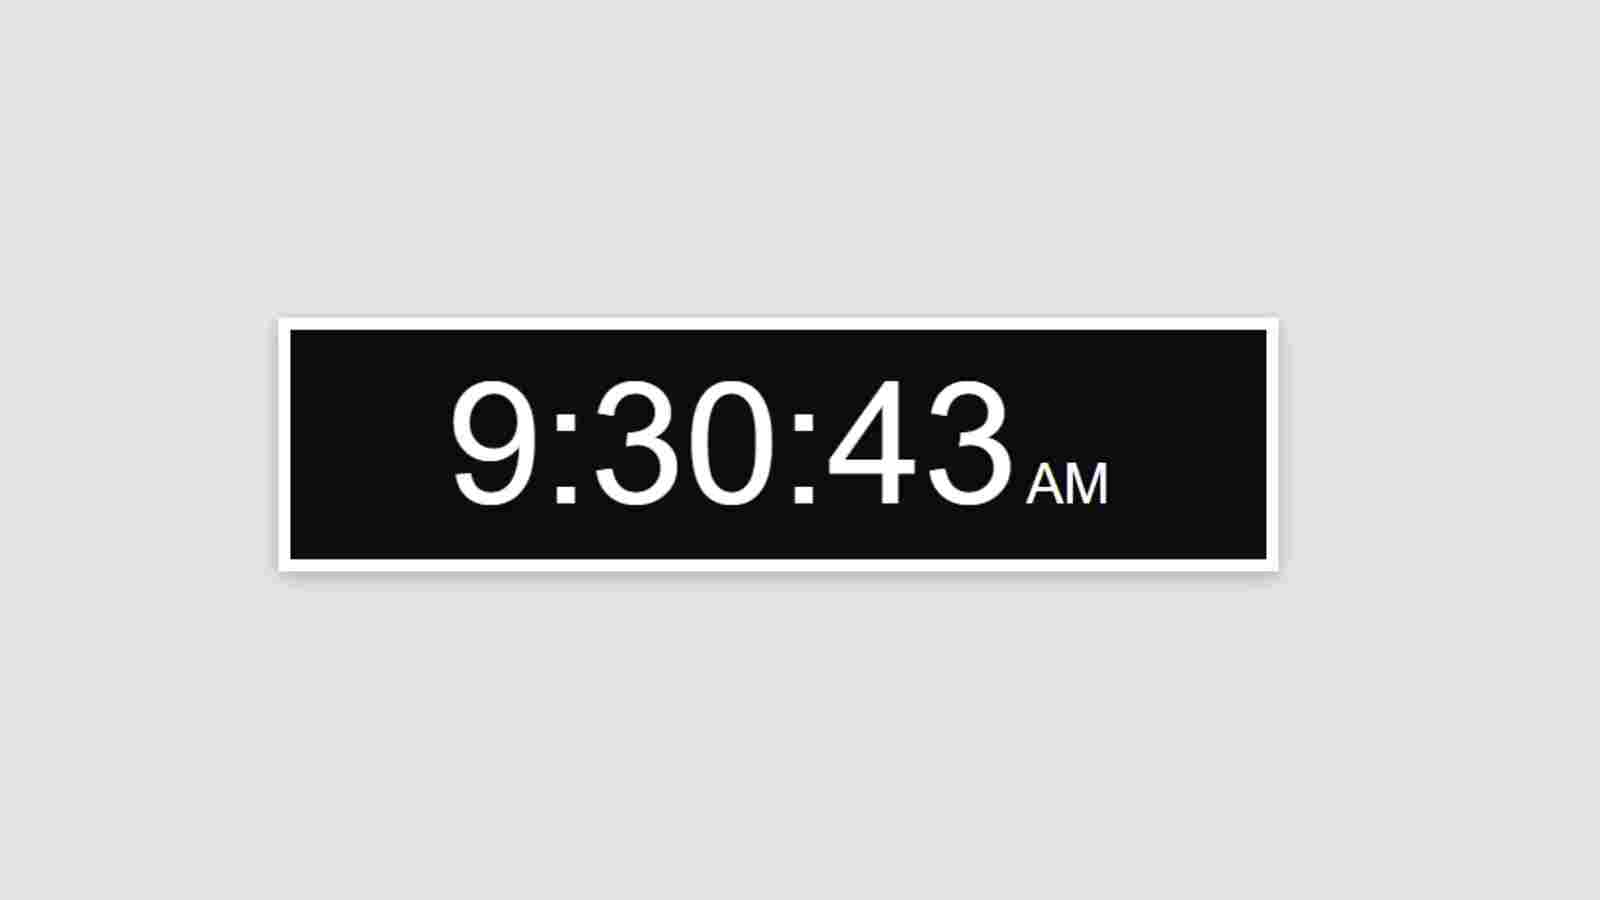
Step 2: Add time, am / pm, date options
Using the HTML code below, I have basically created a place to look at the time, am and PM, dates on this watch. The following CSS code has helped to design those places. As you can see here is basically a place to see the time and see the AM-PM and date.
Basically, I used below HTML and CSS programming code to create and design these three places. But you won’t see it now. You need to use JavaScript code to see the time.
<span class=”hms”></span>
<span class=”ampm”></span>
<br>
<span class=”date”></span>
.hms {
font-size: 68pt;
font-weight: 200;
}
.ampm {
font-size: 22pt;
}
.date {
font-size: 15pt;
}
Step 3: Add JavaScript code to activate the digital clock
So far we have only designed this digital clock, now we will make this watch functional. For this, we need to add JavaScript programming code. If you know the basic JavaScript code then you will definitely understand the JavaScript structure below.
1. Activate time and am / pm options
First of all, we will implement time i.e. hours, minutes, and seconds with AM and PM options.
function updateTime() {
var dateInfo = new Date();
/* time */
var hr,
_min = (dateInfo.getMinutes() < 10) ? “0” + dateInfo.getMinutes() : dateInfo.getMinutes(),
sec = (dateInfo.getSeconds() < 10) ? “0” + dateInfo.getSeconds() : dateInfo.getSeconds(),
ampm = (dateInfo.getHours() >= 12) ? “PM” : “AM”;
// replace 0 with 12 at midnight, subtract 12 from hour if 13–23
if (dateInfo.getHours() == 0) {
hr = 12;
} else if (dateInfo.getHours() > 12) {
hr = dateInfo.getHours() – 12;
} else {
hr = dateInfo.getHours();
}
var currentTime = hr + “:” + _min + “:” + sec;
// print time
document.getElementsByClassName(“hms”)[0].innerHTML = currentTime;
document.getElementsByClassName(“ampm”)[0].innerHTML = ampm;
// Add date & Month (javascript)
};
// print time and date once, then update them every second
updateTime();
setInterval(function() {
updateTime()
}, 1000);
2. Activate date, month option
As you can see above, we have made time effective. This time we will implement the date. This digital watch has the option of the month, a date which has been helped by the following JavaScript structure.
/* date */
var dow = [
“Sunday”,
“Monday”,
“Tuesday”,
“Wednesday”,
“Thursday”,
“Friday”,
“Saturday”
],
month = [
“January”,
“February”,
“March”,
“April”,
“May”,
“June”,
“July”,
“August”,
“September”,
“October”,
“November”,
“December”
],
day = dateInfo.getDate();
// store date
var currentDate = dow[dateInfo.getDay()] + “, ” + month[dateInfo.getMonth()] + ” ” + day;
document.getElementsByClassName(“date”)[0].innerHTML = currentDate;
};
Hope you learned from this tutorial how I made this digital clock with the help of HTML CSS and JavaScript code. I have already made many more such designs.