In this article, I will show you how to create an image slider using HTML, CSS, and JavaScript programming code. Image slider is a popular design that is used in different types of websites.
This type of slider is mainly used in the header section of the homepage of the website. It is designed in a completely modern way and made in a very simple way.
If you are a beginner and want to know how to make this type of Html image slider, you will find the answer in this article. Of course, you need to have an idea about basic HTML, CSS, and JavaScript.
Here, the structure of this image slider Html CSS and the required images have been added using HTML code. This site has been designed using CSS.
Image Slider Using HTML CSS JavaScript
Image slider images are modified using JavaScript code and the buttons are enabled Here I have basically used four pictures. You can use as many pictures as you need.
To change the image, press the buttons on either side of the slide. Here are four dots for four images with which you can also change the images.
If you have difficulty understanding, you can see the demo below and copy the required source code from there and use it in your own project.
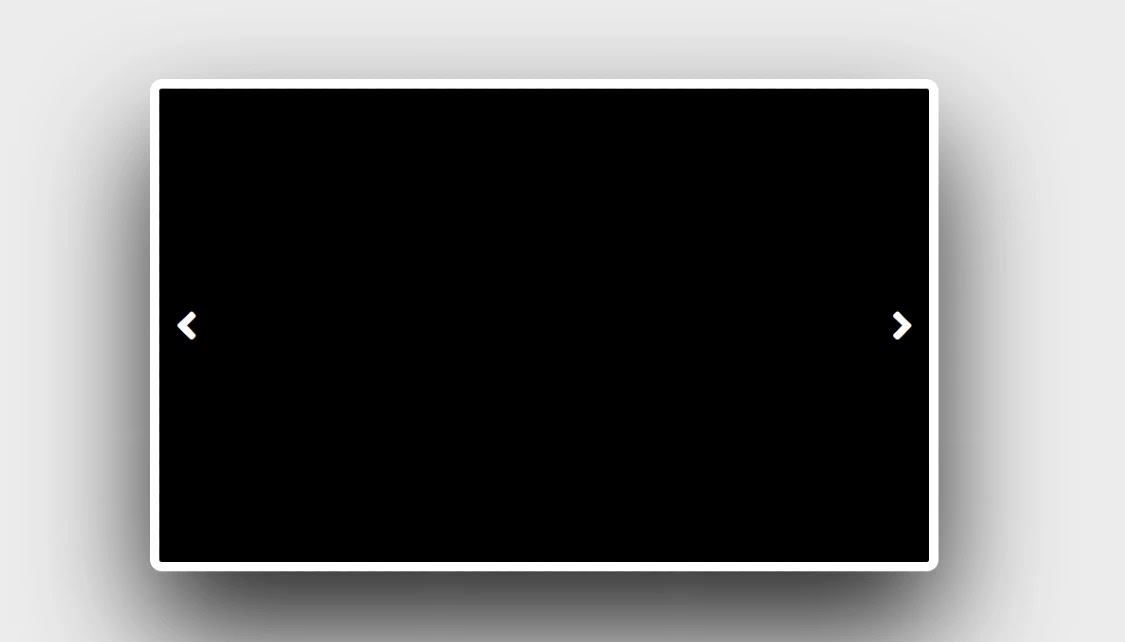
The structure of this site has been designed using the CSS codes below. In this case, a white border has been used around the slider and the background has been painted black.
Two buttons have been made on either side of the slider to change the images in this slider. The structure is not currently functional but the following codes have helped to build and design it.
HTML Code:
<div class=”left” onclick=”left()”></div>
<div class=”right” onclick=”right()”></div>
CSS Code:
.right {
position: absolute;
height: 100%;
width: 60px;
z-index: 99;
cursor: pointer;
color: #fff;
transition: 1s;
right:0;
top:0;
}
.right:hover{
background: rgba(0, 0, 0, 0.25)
}
.right:before{
font-family: “Font Awesome 5 Free”;
font-weight: 900;
content: “\f105”;
font-size: 50px;
position: absolute;
right: 0;
top: 50%;
transform: translateY(-50%) scale(0.75);
margin-right: 10px;
transition: .5s;
}
.right:hover:before{
transform: translateY(-50%) scale(1);
}
.left {
position: relative;
height: 100%;
width: 60px;
z-index: 99;
cursor: pointer;
color: #fff;
transition: 1s;
}
.left:hover{
background: rgba(0, 0, 0, 0.25)
}
.left:before{
font-family: “Font Awesome 5 Free”;
font-weight: 900;
content: “\f104”;
font-size: 50px;
position: absolute;
left: 0;
top: 50%;
transform: translateY(-50%) scale(0.75);
margin-left: 10px;
transition: .5s;
}
.left:hover:before{
transform: translateY(-50%) scale(1);
}
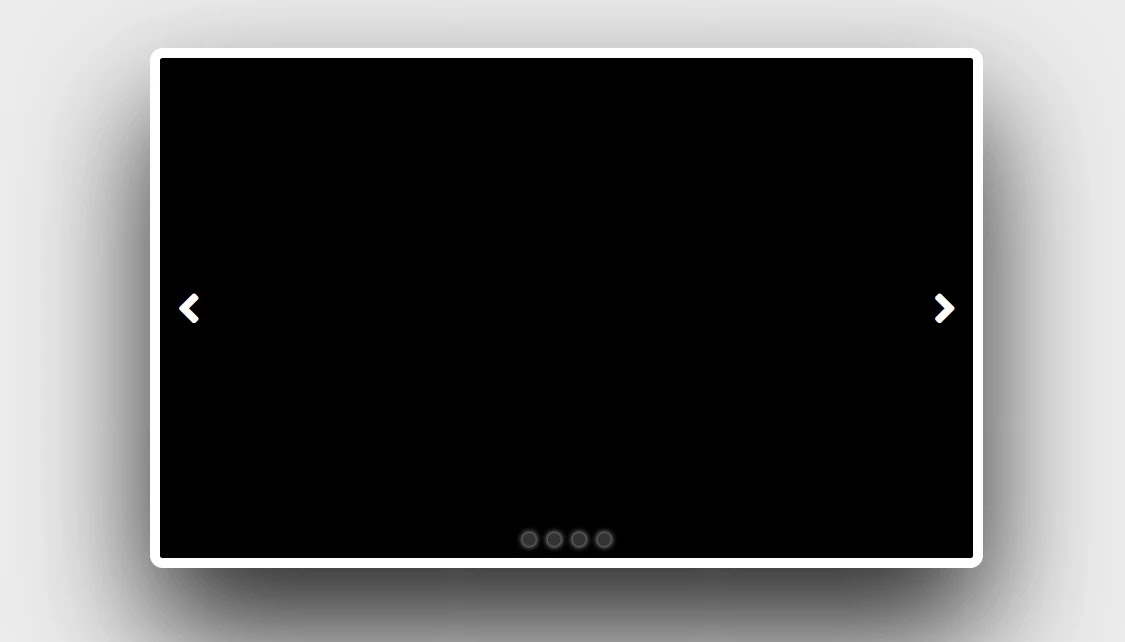
Step 3: Add a dot to indicate the number of the image
Below this slide are four dots for four pictures. Those dots basically indicate how many pictures of the slider you have in front of you now. The following HTML and CSS programming codes have been used to create and design these.
HTML Code:
<div class=”dots”>
<div class=”dot a1″></div>
<div class=”dot a2″></div>
<div class=”dot a3″></div>
<div class=”dot a4″></div>
</div>
CSS Code:
.dot{
position: absolute;
bottom: 10px;
left: 50%;
transform: translateX(-50%);
width: 10px;
height: 10px;
z-index: 99;
background: #333;
border-radius: 50%;
cursor: pointer;
transition: .5s;
box-shadow: 0px 0px 5px #fff;
}
.dot.a1{margin-left:-30px}
.dot.a2{margin-left:-10px}
.dot.a3{margin-left:10px}
.dot.a4{margin-left:30px}
.dot.a1:hover{background:#fff}
.dot.a2:hover{background:#fff}
.dot.a3:hover{background:#fff}
.dot.a4:hover{background:#fff}
Step 4: Add images of your choice
Now you can add your favorite pictures to this site. Since I have used four dots here, I am using four pictures. However, you can use more pictures here as you need.
HTML Code:
<div id=”image1″ class=”img”>
<img src=”img1.jpg” />
</div>
<div id=”image2″ class=”img”>
<img src=”img2.jpg” />
</div>
<div id=”image3″ class=”img”>
<img src=”img3.jpg” />
</div>
<div id=”image4″ class=”img”>
<img src=”img4.jpg” />
</div>
CSS Code:
The height and length of these images are determined using the CSS code below.
img {
width: 650px;
height: 400px;
transition: 1s;
}
.img {
width: 650px;
height: 400px;
position: absolute;
z-index: 0;
transition: 1s;
}
Step 5: Activate the dots in the slider
So far we have only designed the slide but now the buttons in it have to be implemented.
First of all, I have made the dots in this slide effective. If you notice, you can see that I have determined the number of open images for each dot. That is, if you click on the first, the first image will open, if you click on the second, the second image will open.
let i = 0;
let box1 = document.getElementById(“image1”);
let box2 = document.getElementById(“image2”);
let box3 = document.getElementById(“image3”);
let box4 = document.getElementById(“image4”);
let a1 = document.querySelector(“.a1”);
let a2 = document.querySelector(“.a2”);
let a3 = document.querySelector(“.a3”);
let a4 = document.querySelector(“.a4”);
let info = document.getElementById(“info”);
//This is for the first dot. When you click on the first dot, the first image will open
a1.onclick = function () {
box1.style.opacity = 1;
box2.style.opacity = 0;
box3.style.opacity = 0;
box4.style.opacity = 0;
info.innerHTML = “Image 1”
i = 0;
}
//This is for the second dot. When you click on the first dot, the second image will open
a2.onclick = function () {
box1.style.opacity = 0;
box2.style.opacity = 1;
box3.style.opacity = 0;
box4.style.opacity = 0;
info.innerHTML = “Image 2”
i = 1;
}
//This is for the Third dot. When you click on the first dot, the Third image will open
a3.onclick = function () {
box1.style.opacity = 0;
box2.style.opacity = 0;
box3.style.opacity = 1;
box4.style.opacity = 0;
info.innerHTML = “Image 3”
i = 2;
}
//This is for the forth dot. When you click on the first dot, the forth image will open
a4.onclick = function () {
box1.style.opacity = 0;
box2.style.opacity = 0;
box3.style.opacity = 0;
box4.style.opacity = 1;
info.innerHTML = “Image 4”
i = 3;
}
Step 6: Activate left and right buttons using JavaScript
Above I have shown how I have implemented the dots. Now let me show you how I have activated the two buttons on the slide, namely the left button and the right button. For this, I have basically used JavaScript programming code.
There are separate instructions for each photo. When you are in the first image and press the left button, that image will change to the next image. The same thing happens with the right button. If you know the basics of JavaScript, you will definitely understand the JavaScript structure below.
JS Code:
document.addEventListener(“keydown”, (e) => {
if (e.keyCode == 37) {
right();
}
});
document.addEventListener(“keydown”, (e) => {
if (e.keyCode == 39 ) {
right();
}
});
//The following JavaScript code is used for the right button. If you know the basic JavaScript code then you can understand the js code given below. Once you click on the right button, image number 2 will open. When you click for the second time, image number 3 will open.
function right() {
if (i == 0) {
box1.style.opacity = 1;
box2.style.opacity = 0;
box3.style.opacity = 0;
box4.style.opacity = 0;
info.innerHTML = “Image 1”
i++
}
else if (i == 1) {
box1.style.opacity = 0;
box2.style.opacity = 1;
box3.style.opacity = 0;
box4.style.opacity = 0;
info.innerHTML = “Image 2”
i++
}
else if (i == 2) {
box1.style.opacity = 0;
box2.style.opacity = 0;
box3.style.opacity = 1;
box4.style.opacity = 0;
info.innerHTML = “Image 3”
i++
}
else if (i == 3) {
box1.style.opacity = 0;
box2.style.opacity = 0;
box3.style.opacity = 0;
box4.style.opacity = 1;
info.innerHTML = “Image 4”
i = 0;
}
}
//The following JavaScript code is used for the left button. Once you click on the left button, the number of the image will go back.
function left() {
if (i == 0) {
box1.style.opacity = 0;
box2.style.opacity = 0;
box3.style.opacity = 0;
box4.style.opacity = 1;
info.innerHTML = “Image 1”
i++
}
else if (i == 1) {
box1.style.opacity = 0;
box2.style.opacity = 0;
box3.style.opacity = 1;
box4.style.opacity = 0;
info.innerHTML = “Image 2”
i++
}
else if (i == 2) {
box1.style.opacity = 0;
box2.style.opacity = 1;
box3.style.opacity = 0;
box4.style.opacity = 0;
info.innerHTML = “Image 3”
i++
}
else if (i == 3) {
box1.style.opacity = 1;
box2.style.opacity = 0;
box3.style.opacity = 0;
box4.style.opacity = 0;
info.innerHTML = “Image 4”
i = 0;
}
}
Hopefully from this article, you have learned how to create this image slider using JavaScript code. If there is any problem, of course, you can comment and I will try to solve your problem.