Automatic Image Slider You must have seen it on many websites. This type of automatic slider is used on the homepage or gallery of various websites.
In this tutorial, I will show you how to create an automatic image slider using only HTML and CSS code. I have already make another design with the help of JavaScript where you can manually change the image.

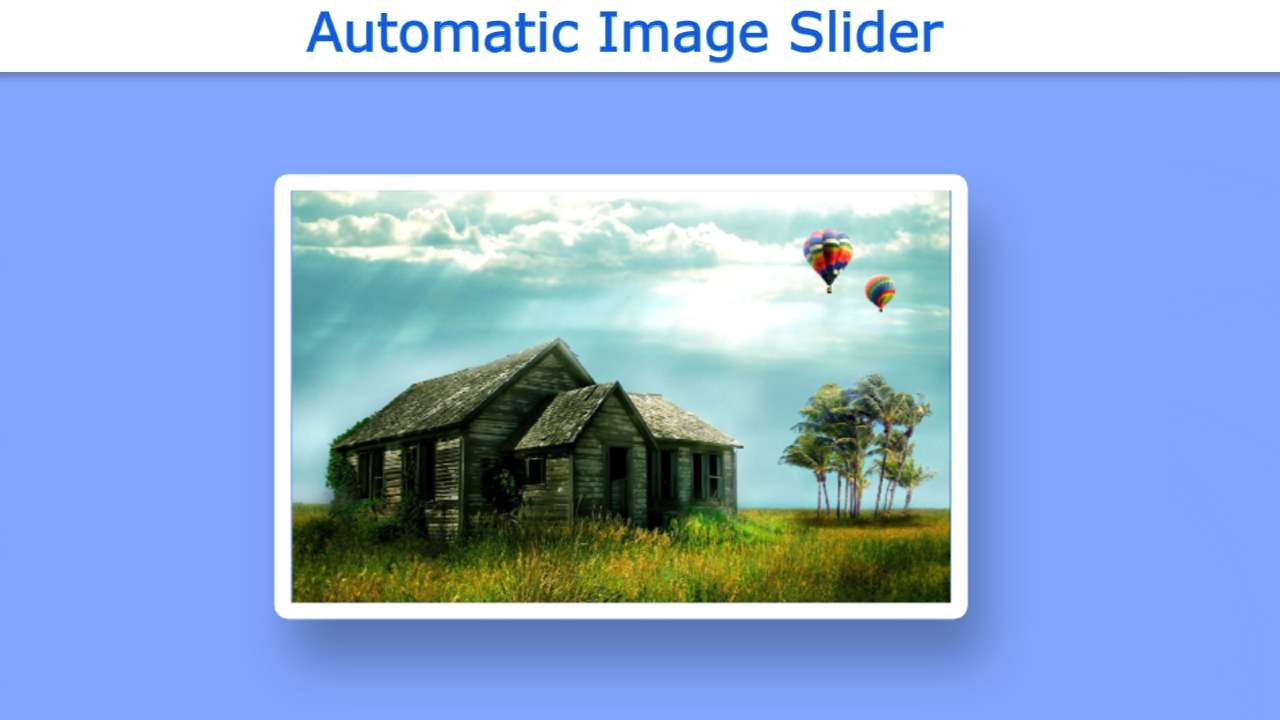
As we know, the image slider helps to store a large number of images in one place. There are different types of sliders, in some cases the image changes automatically, in some cases you can change the image manually. There are two buttons for changing photos where you can change the image manually.
I didn’t make any buttons here. Here the images will automatically change every few seconds.
It is made in a very simple way. First I designed the webpage then I made a box there. This box is the structure of this slider to which I have added the required images.
I used a border of 10px which further enhanced its beauty. The images used here change every second. However, you can change the amount of time you need. Below I have given a live demo that will help you to know how it works.
See the Pen
Password Validation by Foolish Developer (@fghty)
on CodePen.
Hopefully, you have learned from the live demo above how this automatic image slider works.
Automatic Image Slider Using HTML and CSS
Now I have shared the complete tutorial below on how I made this design. If you only want to download the source code, use the download button at the bottom of the article. If you are a beginner then you must follow the tutorial below.
I have given a complete step-by-step explanation of each code line in the following tutorial. If you are also a beginner then you can easily understand this tutorial of Automatic Image Slider.
Step 1: Design the web page
I designed the webpage using a small amount of CSS code below. I have only changed the background color of the webpage here.

Step 2: Create the basic structure of the slider
Now I have created a box on that page using HTML and CSS code. I will store all the images in this box. I have used the width of this box 85vh. A 10 px border has been used around this box which has further enhanced its beauty.
At the end of it all, I used box-shadow. If you watch the demo you will understand that there is a black shadow around this slider. I used box-shadow to make it.

Step 3: Add images to the automatic image slider
I have added the required images in the image slider using the following codes. Here I have used only four images. You can use many more images if you want.
I have placed these images neatly in the slider using the CSS code below. Here I have added animations. I used the animation for 16 seconds which means it will take a total of 16 seconds to change these four images.
This means that each image will continue to change every 4 seconds. Although you want the images to change more quickly or slowly, you can change the value.

Step 4: Enable autoplay with CSS
Above we have created the complete image slider. Now I have added autoplay in it which means I have used the following CSS codes to change the image automatically.
I have changed the images using percentages using @keyframes. This is a very simple method I have changed each image along the x-axis using transform. I have already determined 100% of the total width of the slider which will take 18 s to cross.
Since I have used four images here, I have divided the total distance (100%) by four. As such, it will take 4 seconds to go from 0 to 25 percent. It will take another 4 seconds from 25 to 50.
As such, from 0 to 25 here I have set the value of translateX to 0. That means there will be no change, we will see the first image. Then from 25 to 50, I used the value of translateX -100% which means I will change the image first and see the second image. Because the length of each image is 100%.
Similarly from 50 to 75, I have used -200 which means I will see the third image after leaving the second image. Similarly, I have used the translateX value -300 for 75 to 100 which means we will see the fourth image instead of the third image. I set a time of 16 seconds to change this whole image slider.

Hope you learned from this tutorial how I created an automatic image slider using only HTML and CSS code. If you want to navigate with this image slider you can watch another tutorial made by me.
Be sure to comment on how you like it. Below I have given the complete source code so that you can download the source code required to make this design.